-
• #77
eep. the pro mini has non-aligned pins? Those Arduino guys really need to figure out how to use the 0.1" grid feature :)
@allObjects on the cheap board, there's everything you'd need for breadboarding available on the 2 long sides, with a serial connection on top. IMO it's best to keep it small by putting A0..A3 (which don't contain anything that's not on other pins) on the end.
On WiFi: A8/A10 are on the side because there's nowhere else for them if the board is to be kept that small. They're not super useful pins though.
With EEPROMs, there's very little room on the board itself - definitely no room for a SOIC8. While it might just be possible to squeeze a SOT23 onwire device in, I'm not sure that's really worth it. Since the new board has more flash, I'll be tweaking things such that there are 2x 16kB flash pages available, which should really help with EEPROM emulation.
-
• #78
@DrAzzy, yeah... I like memory... ;-)
The original Espruino has the SD card for storing files... and I like that, especially when Espruino has to serve more data, images, has to store keys, etc...
Furthermore - just a thought - making the Espruino-wifi 0.1" longer and a 2x12 pin dip would give the space... but as @DrAzzy comments, external memory users are not regular users...
-
• #79
Roughly speaking, about when do you envision these becoming available? For future projects planning purposes...
-
• #81
@DrAzzy Which boards are we talking about? The cheap ones or WiFi? I have the prototypes for each back here now, but I need to get my act together a bit and start testing/developing so they're ready for Seeed.
@d0773d On the WiFi, this was asked above, but because the WiFi module is stuck on the back, it makes surface-mounting it to a board very difficult. Since the castellations add a bit to the cost I'm going to leave them off and pre-install pins.
On the cheap board, I'm afraid they may get left off too. Not just price, but it makes it harder to produce them in sets of 5 (which was the original idea) - not least because there are pins all the way around - so you can't just mill all the way around the PCB or the board will fall off it :)
-
• #83
Both? Frankly, I'm looking forward to both, though I think the WiFi one is more interesting, since it finally puts into one board the capabilities that everyone now seems to want.
The WiFi I think has a bigger audience, and I think it will be a great option for WiFi-connected projects, and that's the one I more had in mind - though I have use cases in mind for the cheap one too, and I expect that I'd be using more of them than Espruino WiFi's.
I don't like universal pre-installed pins - Some people want the pins facing down to put into a breadboard, some people want them facing up to connect jumpers to... but if you pre-install them, one of those groups of people is going to be unhappy. I mean, what if you put them with the pins pointing out of the ESP side? Then you couldn't use it without a breadboard, because it would be resting on the reset button, instead of the shield of the ESP8266. If you put them pointing up from the board, then when you put it in a breadboard, the reset button would be inaccessible.
-
• #84
The problem is actually stock - the more different parts I have the more stock I have to juggle, in the UK, China, and distributors. It's already a bit of a pain with the Pico.
I'm really not sure that resting on the button when you've installed a bunch of jumper wires is that big a problem? I do that sort of thing all the time with the Pico boards and they actually tend to rest on their side. Even if they didn't, the button is quite hard to press, and even if it did get pressed, it's not a reset button.
-
• #85
I amend my previous statement - I personally am somewhat more interested in the Espruino Cheapo. The more I think about this, the more perfect it seems....
I actually plan to do much the same thing on both of them, most likely - whether I used the WiFi or the Cheapo would depend on my RAM and speed needs. Either way, I'll run Espruino on both the ESP8266 and the Espruino. The ESP8266 will be only running the web interface, and in response to things that involve talking to the rest of the system, it'll send something like "doThis(...)" over serial to the Espruino board. Likewise, if the Espruino board needs to make requests, I'd put the code to make the request on the ESP8266, and it would just send the call to it over serial.
I hadn't previously thought about how easily you could lash Espruinii together like that. And the F0 has a shitload of UARTs. What, 6?! Could do a lot with that.....
Is the F0 5v tolerant?
-
• #86
That's an interesting thought - I guess it'd give you much better control of the system, and actually with the ESP8266's extra flash memory you could store HTML/etc in there if needed.
The F0 seems to be 5v tolerant on all pins apart from the analog inputs, so you still have to be careful with what you connect where!
-
• #87
Espurino both side would be best!
I've been thinking about the two systems - arm and esp8266 and the way they would talk to each other. The esp8266 side as @DrAzzy suggests, can do the web side and wifi, and the "grunt work" requiring more ram on the arm side. What is the best bus between the two systems - is a socket system via serial, or can we use direct pins via i2c or similar, although side would need to be master? -
• #88
Well, on the system I'm doing I'm just using Serial. Personally I think it's probably quite a good solution. SPI/I2C only work nicely if the slave is properly real-time, so can answer almost immediately.
Serial's nice because it's not totally real-time, assuming each end has a FIFO (which they do) you can answer requests when you have time to.
-
• #89
@Gordon Hope your protos are going strong ;-) I have a proposal for the next revision. Why don't we "share" the ESP-12 footprint with the Hope RFM-9X LoRa module. I think this should function, see https://www.lucidchart.com/invitations/accept/f7b4066c-9dcc-4cd7-bd92-c6db0fcf302b . As we need only RX/TX, CHPD to Vcc (and perhaps RST) on ESP-12, the rest of the pins should snugly fit for RFM-9X modules. So we could use the board either for short range or long range radio.
Feasable or not?Edit: added picture.
1 Attachment
-
• #90
You also need to be able to get onto the GPIO pins to flash the ESP8266... and - unless I was mistaken - Gordon was planning to have the ESP8266's pre-installed.
In any event, I think it's a bad idea to add support for some random take on long-range wireless. Why that one, and not one of the other dozen-plus modules? Unlike WiFi, there isn't one "clear winner" among LoRa - for WiFi, the ESP8266 just blows away all the other options, being outrageously cheap, and now capable of running Espruino too.
And putting an SPI pin onto the ESP8266's GPIO2 pin (which I think your proposed pinout does) means that that SPI pin isn't usable if there's an ESP8266 there, which would be by far the most common case, so the common case is compromised for the uncommon one. For projects that use long range wireless, I think it's more appropriate to leave that on a separate board...
-
• #91
Sorry for the delay - I've been on holiday the past week.
As @DrAzzy says, I'd be pre-installing the ESP8266 (as the idea is to get something a bit more plug-and-play), so I'm afraid I don't think tweaking the pinout would really help that much.
But you could make what we're calling a shim - basically a bit of PCB with a Pico pinout on one side, and some module on the other. There is already one for RFM69/RFM12B...
It wouldn't be quite as small, but it wouldn't be that far off...
-
• #92
Regarding shimming, I was thinking about a new way to do it:
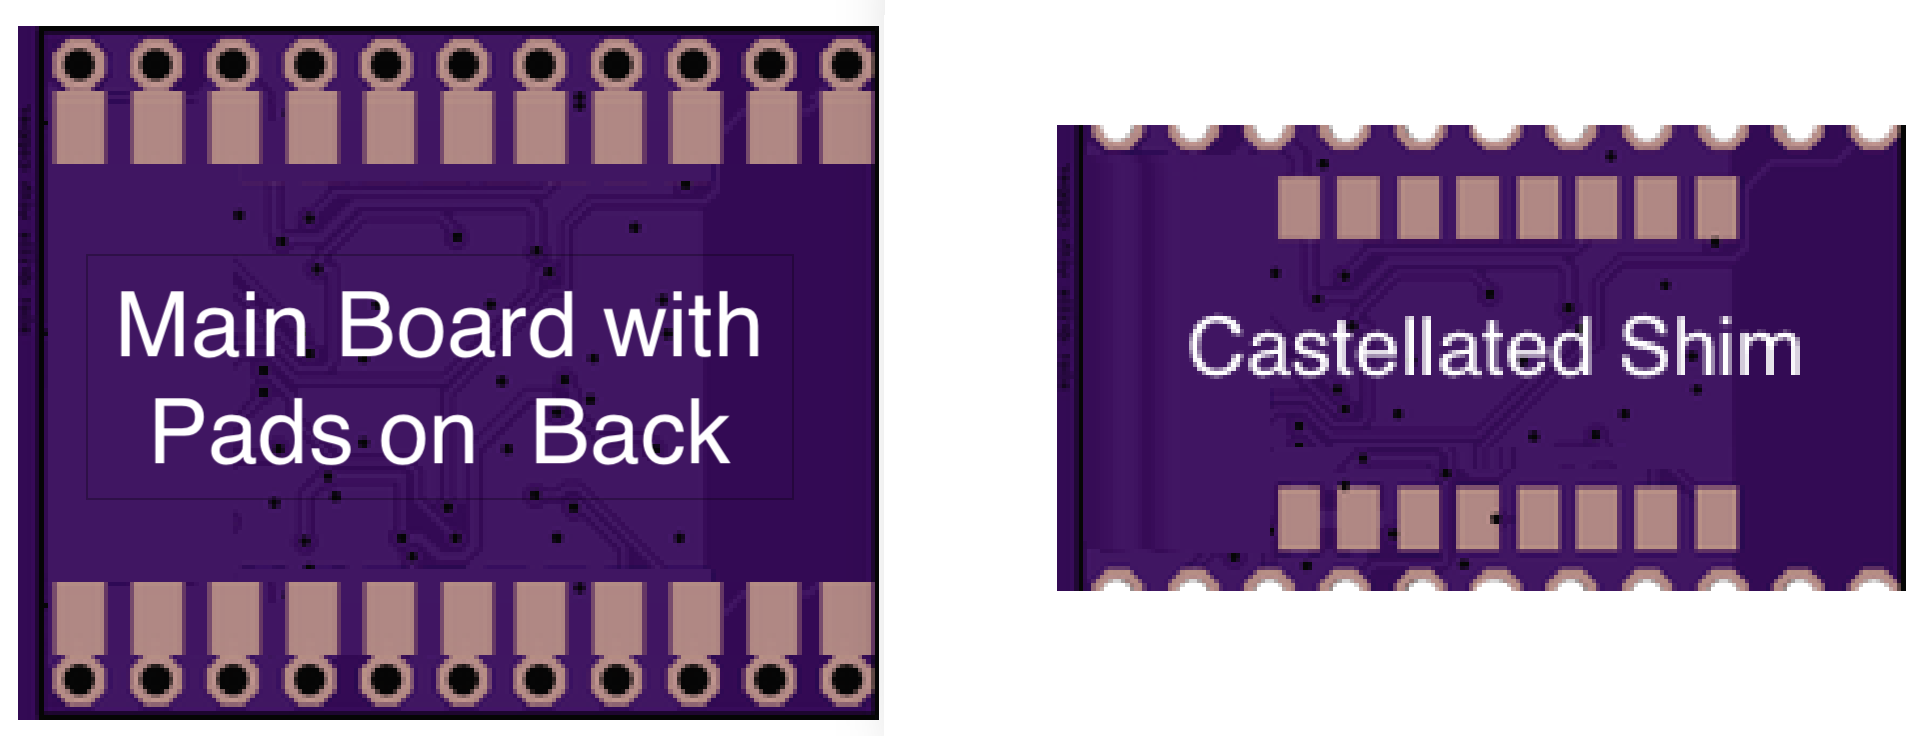
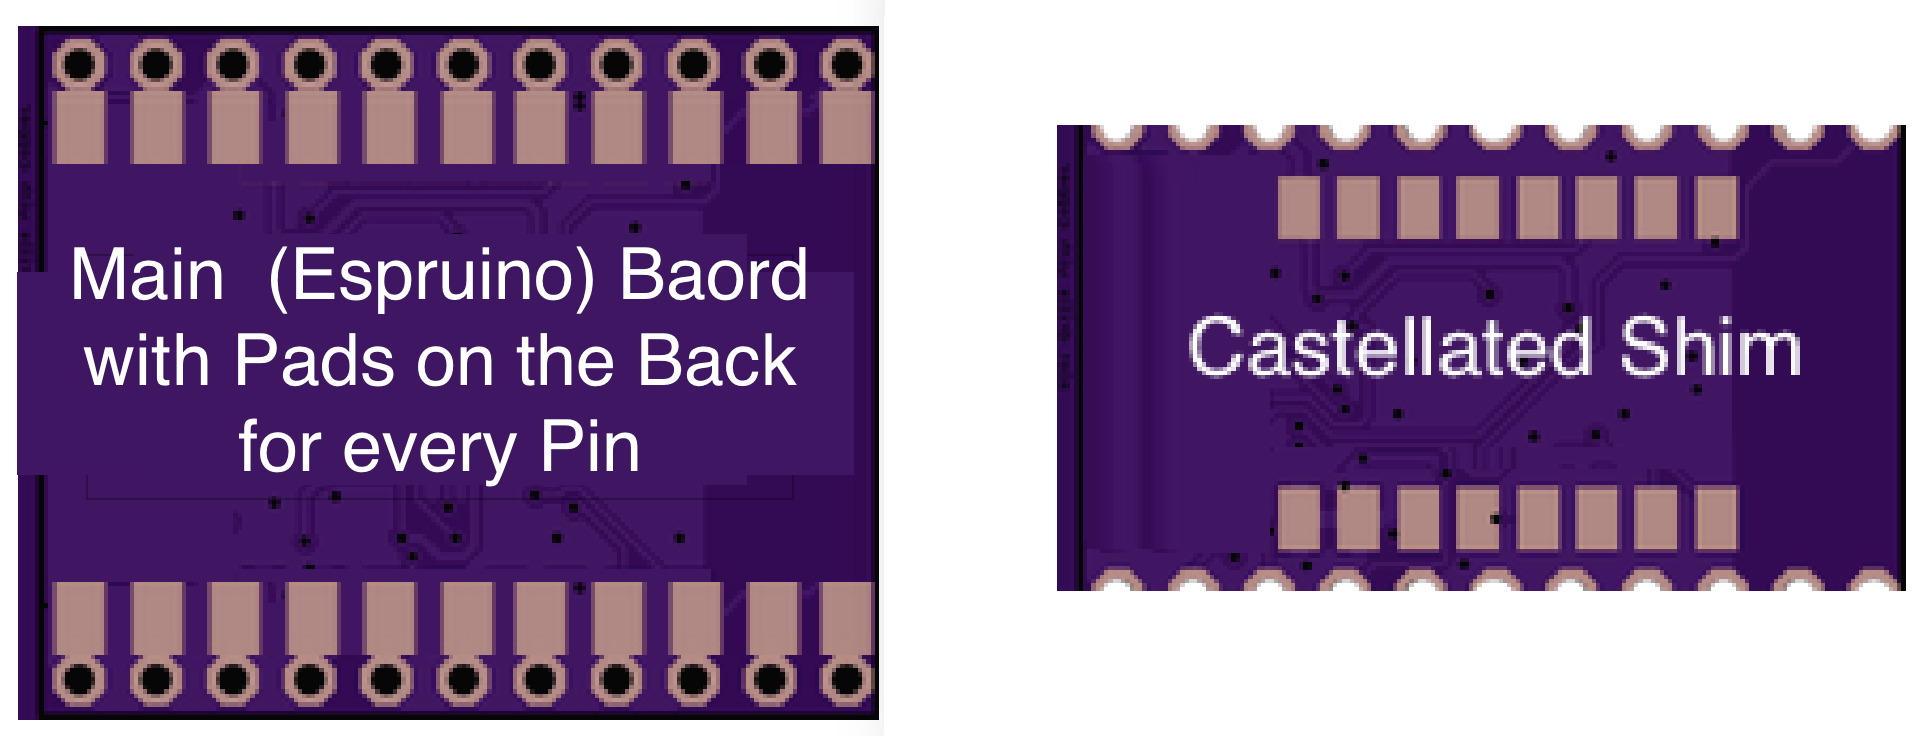
On the back side of the (or any new Espruino) board - the component free side - the pin rows would be complemented with pads for castellated shim. (Ignore the resemblance with the Espruino wifi board presented earlier in this conversation... I just took it for convenient photo shopping...).
It may create some challenges for the routing, but a bit narrower pads still work too.
The combination of pads and castellated shim has the benefit of:
- main board can still be pinned
- main board independent of shim
- all pins available for ship
- shim can adapt may things
I can think even of partial shims: smaller add-ons using less pins would allow to have multiple shims placed side-by-side on the back of the main board.
1 Attachment
- main board can still be pinned
-
• #93
I'm not quite sure I understand - so the Pico goes flat onto the shim, and then the Shim itself has Espruino's pins, but just 0.1" further apart?
edit: ahh, no - I see what you mean now.
On the Pico I don't think that would be too useful - most modules you'd want to fit are actually wider than the Pico is! I guess it could work on WiFi though.
... of course even with the pico, you could pull off the black spacer on the pins, and could solder a shim flat onto the bottom of the board (castellated or not).
-
• #94
Not exactly... because this is the conversation about New Espruino board:
The main board is the new espruino board - for example - the 'cheap' or some other Espruino board with pads for each of the board's pins. Many different castellated shims then adapt what ever other peripheral device is desired.
(Sorry for the confusion... will adjust the pics).
1 Attachment
-
• #95
Hm - am I misunderstanding?
You're proposing pads on the back of an Espruino board, such that a castellated shim could be used? Hmm...Is there even space for that on the Espruino Cheapo? There definitely isn't on the WiFi - there's gotta be an ESP8266 there...
Where do you guys get PCBs with castellated pads on them made? I don't think OSHPark or DirtyPCBs will do that for you...
-
• #96
Yeah, there's no room on the WiFi board - but I guess it might be possible on the cheap one with some rearrangement... Having said that, since the pins go around all edges, you wouldn't be able to add pads for the pins in the corner.
For castellated edges, I haven't tried, but I think DirtyPCBs will do it - you just have to set up the milling path. With the Pico I actually went straight into production with it (no prototypes :o) so I don't actually know.
-
• #97
If you just draw on the milling layer, they just don't do any milling that cuts through copper, in my experience. At least that's what they did to me...
-
• #98
For me, a new board is going to ideally be an ESP8266 with more RAM and an EEPROM. While the ESPs are great for simple tasks, as soon as I push the amount of code I want to run, I end up running out of memory. Then there's no where to store data. Just a couple of thoughts.
-
• #100
That's great news, I'll be pre-ordering a few as soon as they're available.
 Gordon
 allObjects
 DrAzzy
 d0773d
 Wilberforce
 Spocki

 AlexOwen
The short side ones are for programming - the FTDI header on one end. On the other end Boot0 is for advanced flashing, and A0~3 are just more IO pins. I don't think it's worth the extra 0.2" to make those breadboard friendly, but at the same time, I think it's better to leave them available. Like how the Arduino Pro Mini has a few pins that aren't in line with the others. At least these are aligned on the same grid!
@allObjects - I think you and I are the only ones who love EEPROMs and FRAM and use them all the time - I don't know that that's a feature the rest of the Espruino userbase would care about.