-
• #2
...there you go... just a few more digits... Retro Bubble Displays driven with 74HC595.
-
• #3
Oooh, spiffy! Finding suppliers has turned out to be a bear tho - I have an idea involving a microscope and 120 0201 LEDs...
-
• #4
If you want to make something small, you could look at using a bare MDBT42Q module and a custom PCB.
Using LEDs would be interesting, but a bit of a nightmare! What about an OLED? compared to that many LEDs the ribbon cable would be trivial to solder!
-
• #7
Oh @allObjects you are quite right - the 6502 is the second CPU I programmed on (the first being the Z-80)
-
• #8
Testing the QDSP-6064...
const cathodes = [D24,D23,D27];
const anodes = [D28,D29,D30,D31,D1,D2,D11];

var k = 2;
var pattern = 1;
var count = 0;
const maxa = (1 << anodes.length) - 1;
setInterval(() => {
  "compiled";
  for (var a in anodes) {
    digitalWrite(anodes[a], 0);
  }
  digitalWrite(cathodes[k++], 1);
  if (k >= cathodes.length) {
    k = 0;
  }
  digitalWrite(cathodes[k], 0);
  if (count ++ == 20) {
    count = 0;
    pattern++;
    if (pattern + k > maxa) {
      pattern = 1;
    }
    console.log(pattern);
  }
  for (a in anodes) {
    digitalWrite(anodes[a], ((pattern + k) & (1 << a)) ? 1 : 0);
  }
}, 1);
1 Attachment
-
• #9
Also managed to compile and install the MDBT42Q image using the BlackMagic probe, since the MDBT isn't available in the US, except on a breakout board
-
• #10
Regarding the cool clip and test code: what's the reason for 3 digits only? ...and 7 segments only... including the dot but not the top half of the digits? ...or is it just the test program?
EDIT: removed a comment about timing and free running.
-
• #11
yeah just too lazy to wire all the segments, lol
free run is a good idea, will try that -
• #12
Totally free is not what I meant... I edited my entry. You already have it practically free running... the 1 ms setInterval() is quasy doing it... but it may back up when other things happen... so running it with a setTimeout() to call itself is a good thing, because you want the other javascript events - and system events - to get the cpu as well.
I'm sure you will have something that will switch the display on for some limited time to save power. It would then call the update display function and as long as 'the flag' is on - which you control by a setTimeout to switch off, you will call the update function at the end of it with a setTimeout of 1 (or 0)[ms]... to let the flag controlling timeout event run and and reset the flag to switch the display off. --- This was btw the behavior I remember of these first digital clocks with red LED 7 segment displays.
-
• #13
Looks great!
Just to add that
digitalWritecan take an array of pins, so certain things can be really simplified/sped up. For example:for (var a in anodes) { digitalWrite(anodes[a], 0); } // is the same as digitalWrite(anodes, 0);and similarly if you have a bit pattern that you want to output to all anodes at once you can do
digitalWrite(anodes, pattern);. -
• #14
Thanks to @GordonGordon's and @allObjects' suggestions I've distilled the code to the following, as well as wiring up the rest of the cathodes and anodes, resulting in the attached video.
const cathodes = [D24,D28,D27,D23];
const anodes = [D31,D1,D11,D29,D2,D30,D6,D7];
const patterns = [63,6,91,79,102,109,125,7,127,111];
const zero = '0'.charCodeAt(0);

var count = 0;
var k = 3;
var pattern = "   0";

function onInit() {
  setTimeout(update, 0);
  setInterval(() => {
    if (++count == 10000) {
      count = 0;
    }
    pattern = ("   " + count.toString()).slice(-4);
  }, 25);
}

function update() {
  "compiled";
  digitalWrite(anodes, 0);
  digitalWrite(cathodes[k++], 1);
  if (k >= cathodes.length) {
    k = 0;
  }
  var ch = pattern[k];
  if (ch >= '0' && ch <= '9') {
    digitalWrite(cathodes[k], 0);
    digitalWrite(anodes, patterns[ch.charCodeAt(0) - zero]);
  }
  setTimeout(update, 0);
}
1 Attachment
-
• #15
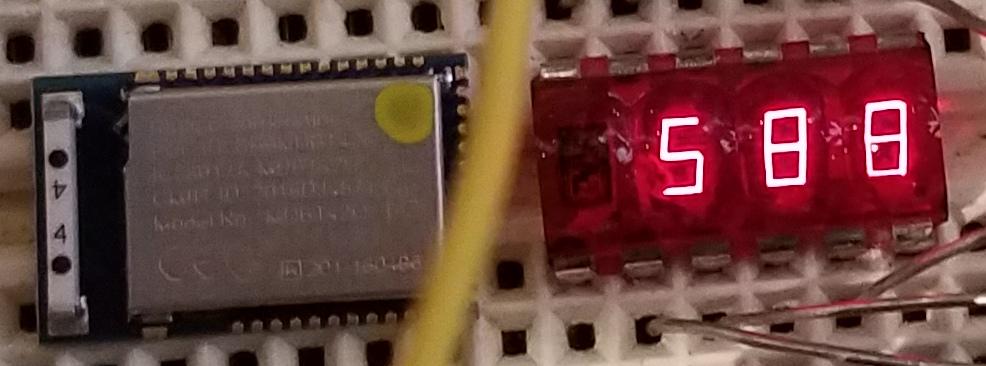
And posing with a MDBT42Q module for size comparison
1 Attachment
-
• #16
Neat... so close next to each other w/ 50+ years time in between them... the fat, yellow and out-of-focus wire... ;)
Is the MDBT42Q actually driving it already? ...I guess not... I do not see connections (yet)... You will have fun soldering...
-
• #17
Very cool - thanks!
-
• #18
Ordered rev.0 prototypes from OshPark (twice, I thought they'd lost it the first time because the USPS jumped the gun in telling me it was delivered). Things I learned:
- @allObjects was right, my hands are no longer steady enough to solder 0402 resistors :-(
- How did I forget to attach serial and D0 button to the board?!?!
- Going from Eagle to Kicad was no big deal, the autorouter wasn't so great anyway
- I wish the raw MDBT board was available in the US, I was able to program it with a Black magic probe, but it seemed to have a lot of trouble connecting reliably to my macbook
- I'll post all my design files after rev.1 prototype, and I've fixed the bugs on this one
3 Attachments
- @allObjects was right, my hands are no longer steady enough to solder 0402 resistors :-(
-
• #19
...was right, my hands are no longer steady enough to solder 0402 resistors :-(
But I'm glad you still see them! ...for me I need the mega mag in the magnifier lamp to go after things that at one time I could see easily even with no glasses.
Comparing the solder pads for LED and MDBT: like field compared to base plate...
I'm thinking to getting solder paste an hot air station... using an iron is just getting very tough... either everything is a tin blob or it is a cold solder point.
Looking forward to see your watch in action...
-
• #20
Did you get a pre-programmed MDBT42Q? If so you should have been able to just program it with Bluetooth if you needed? Also, Adafruit do sell the Espruino MDBT42 boards in the US now: https://www.adafruit.com/product/3876
I don't actually see any capacitors on the board for the power line? - I guess it's possible that without one the nRF52 behaves a bit unreliably? Especially if running off a CR2032 it'd cause you a bunch of trouble.
Interesting about KiCad too - I really need to give it a proper try as I'm still on Eagle, but having spent a bunch of money on various Licenses I'm now still using quite an old version.
I'm thinking to getting solder paste an hot air station... using an iron is just getting very tough...
Buy a cheap one, a syringe of solder paste, solder wick, flux and some good tweezers - it'll probably cost you less than $120 all-in and it's such an amazingly useful tool. I use mine all the time now. Even if you could do stuff with a soldering iron, the hot air often makes the end result look tidier.
0402 isn't too painful to do with paste - but yeah, with a soldering iron I bet it's a nightmare!
-
• #22
I use a
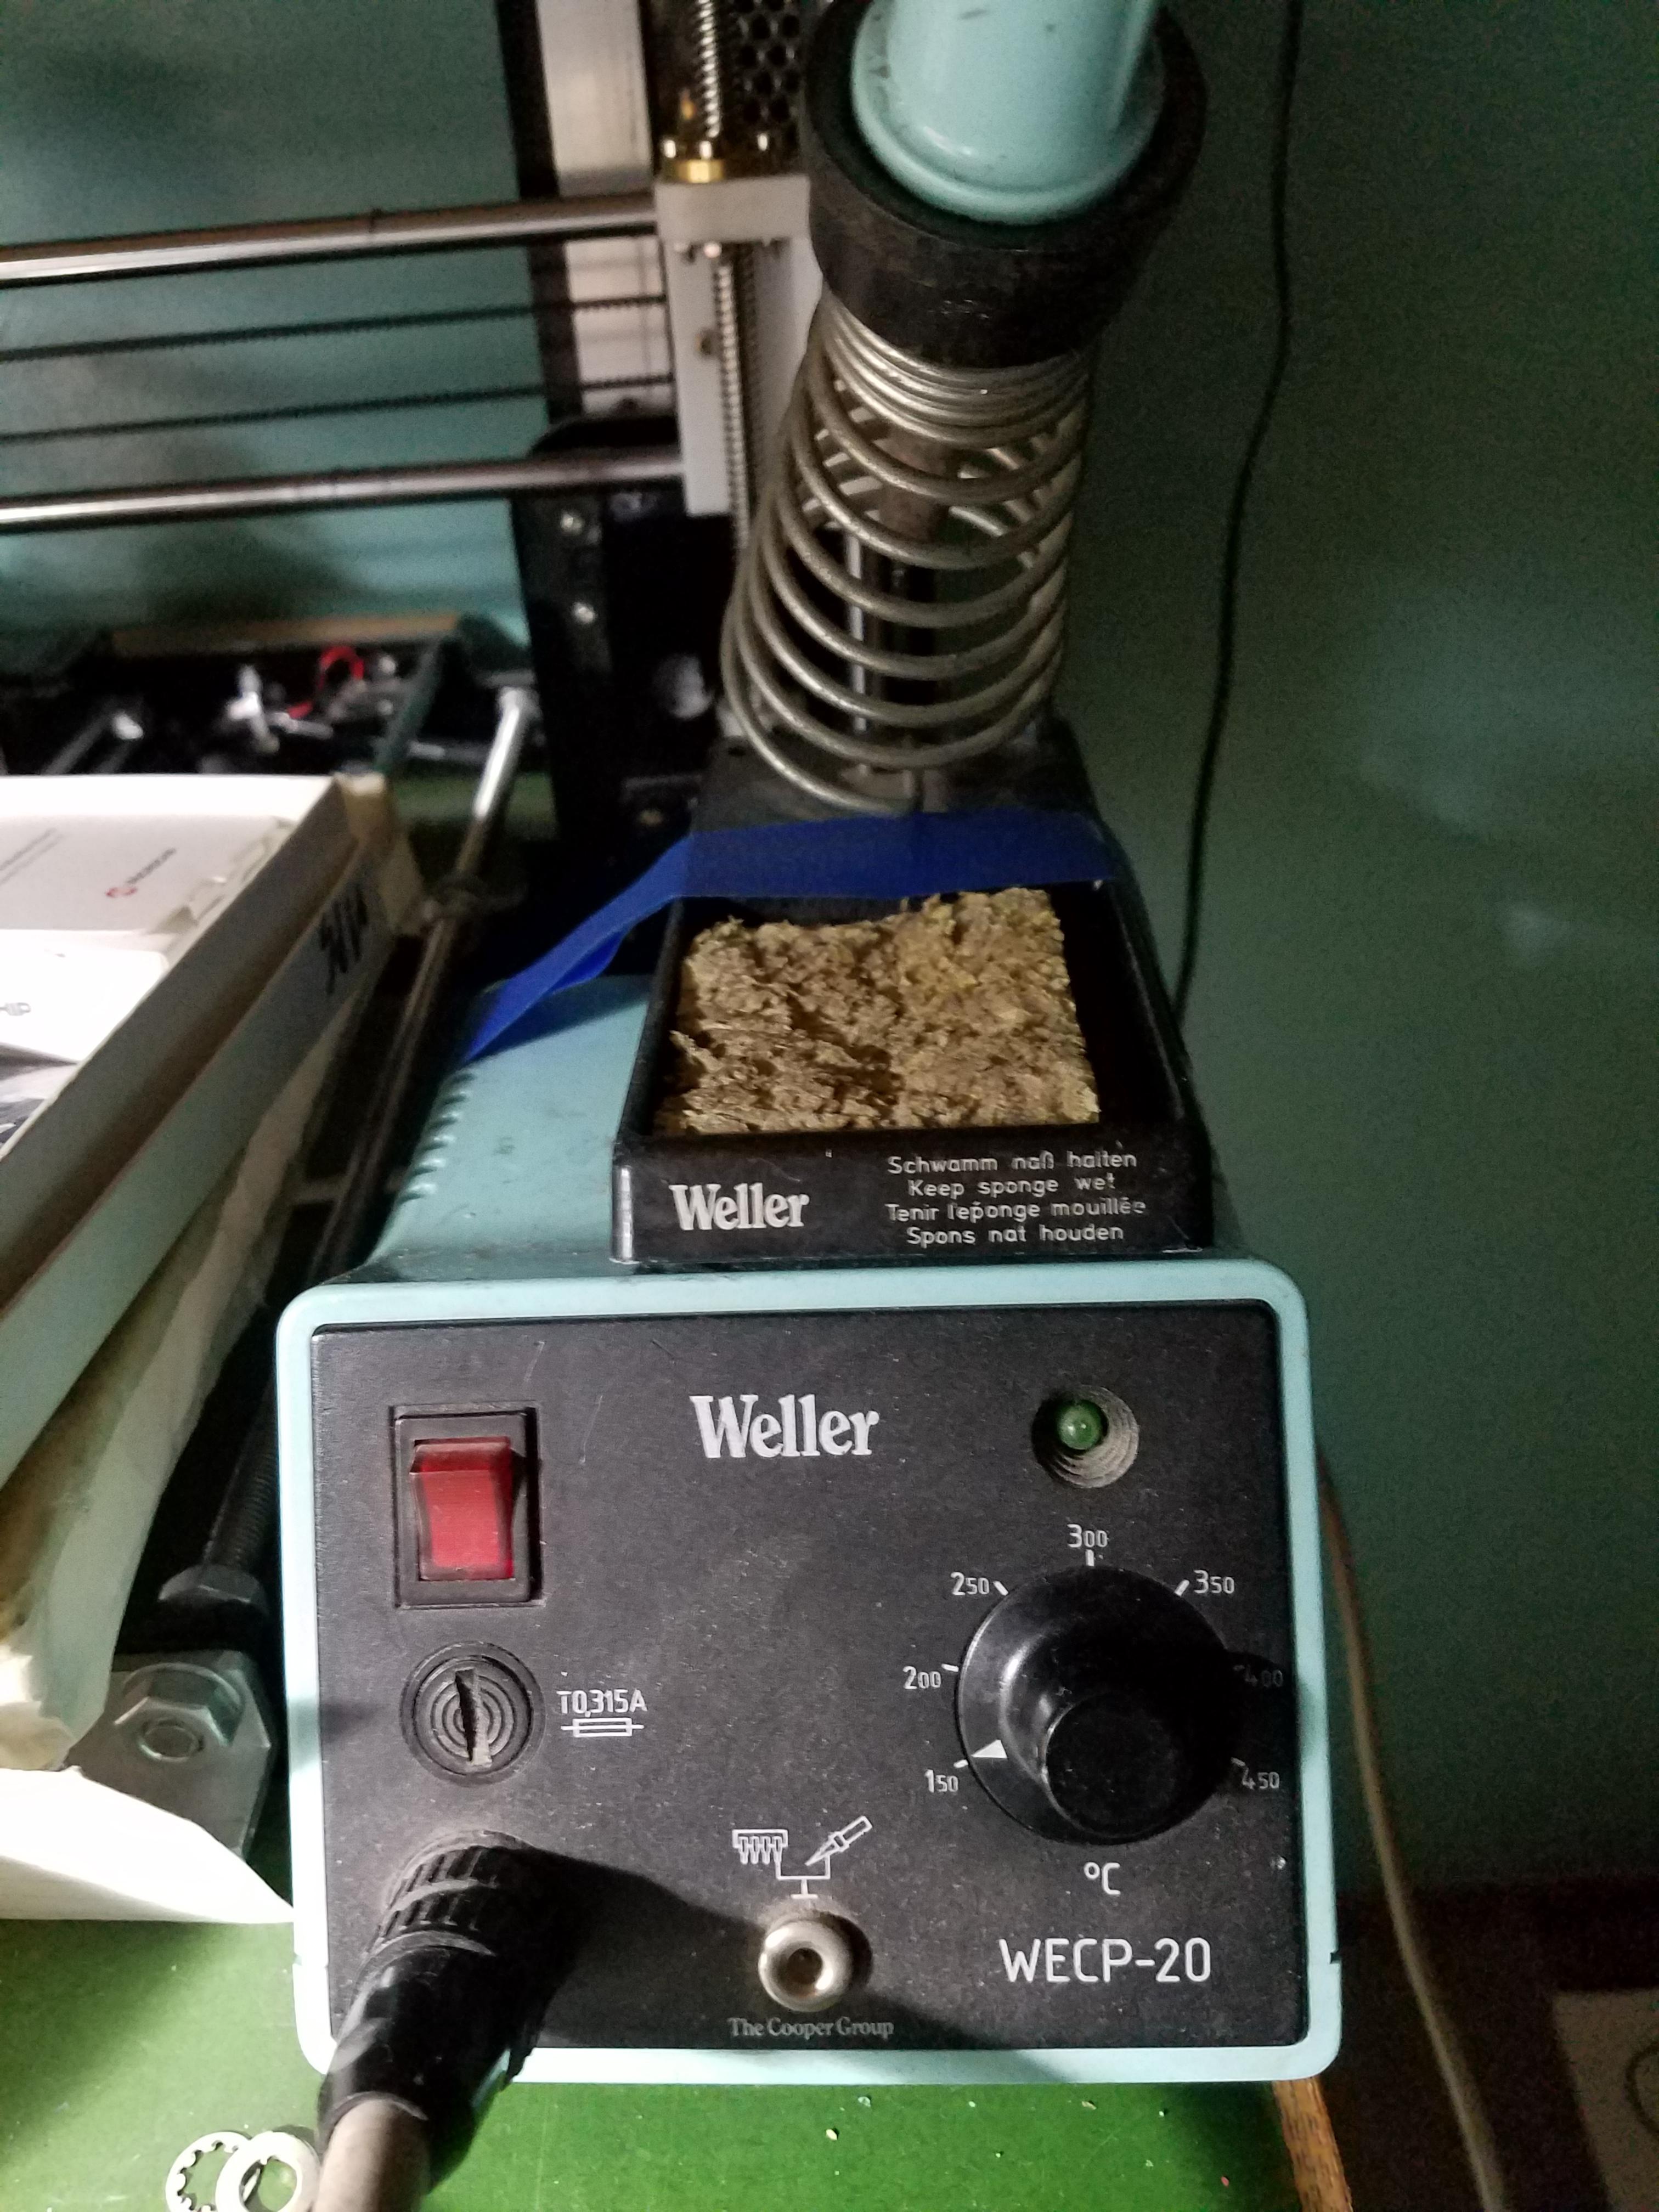
WEP 862D+, but there are plenty of other similar ones available.Personally I found the included soldering iron a bit rubbish (there's no mass to the tip, so it loses temperature too fast) but it's possible that my iron was faulty. I still use my 30 year old Weller :)
Otherwise the hot air works perfectly though - so if you have an iron you're happy with just a standalone hot air station might be better.
-
• #23
...yep, 1 pic 1000 words... Weller WECP-20 Temptronics blinking green LED / LR-20 50W Iron... still same heating element... After having moved from 22oV AC to 110V AC, I got sick of always having to use a 220-to-110 transformer: I went after the windings and cut / tapped it. Now I can connect it directly to 11oV. The change from 50 to 60Hz though messes a bit with the electronics. But otherwise, it's doing fine.
1 Attachment
-
• #25
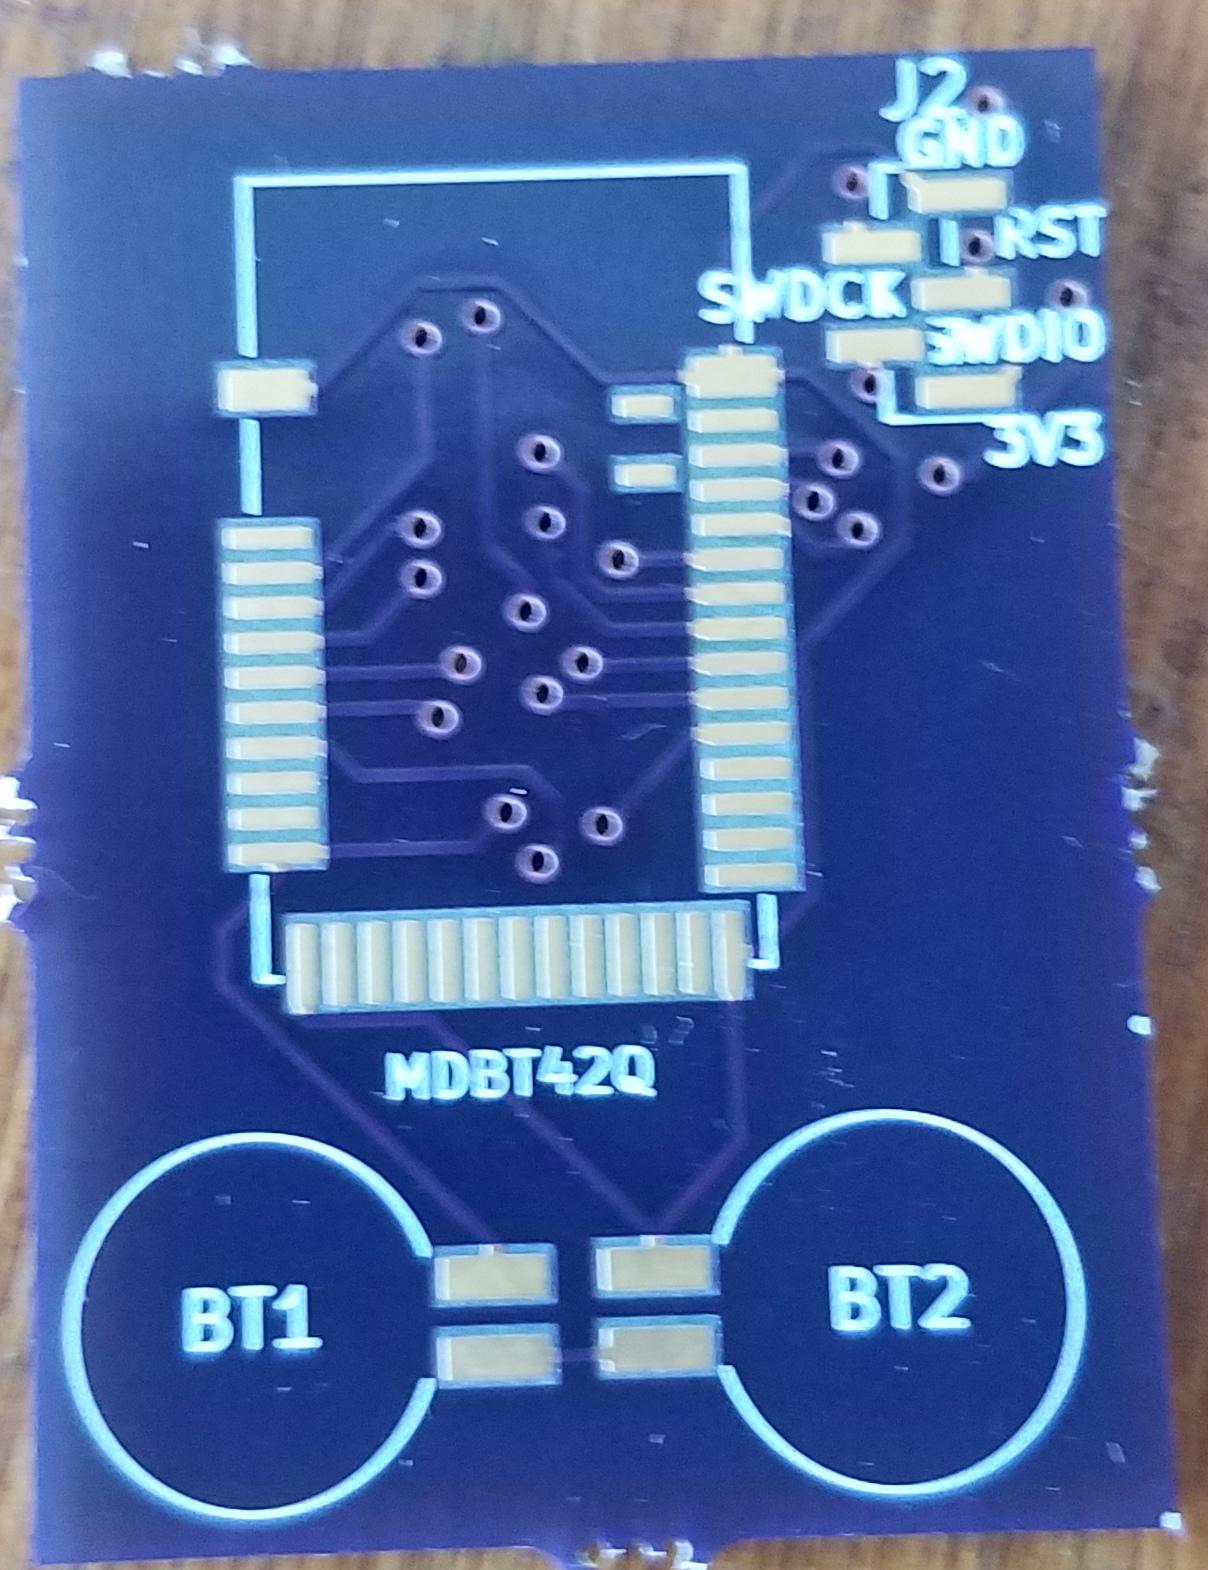
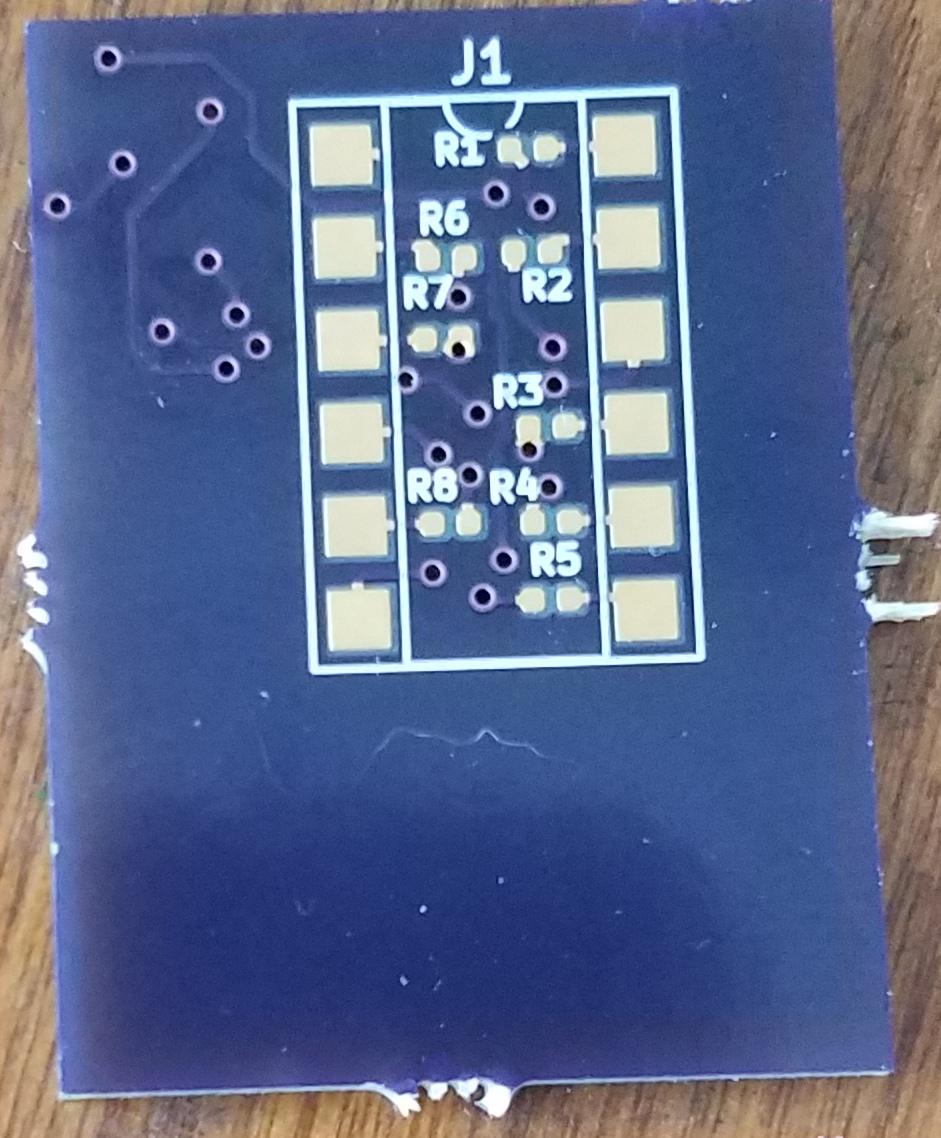
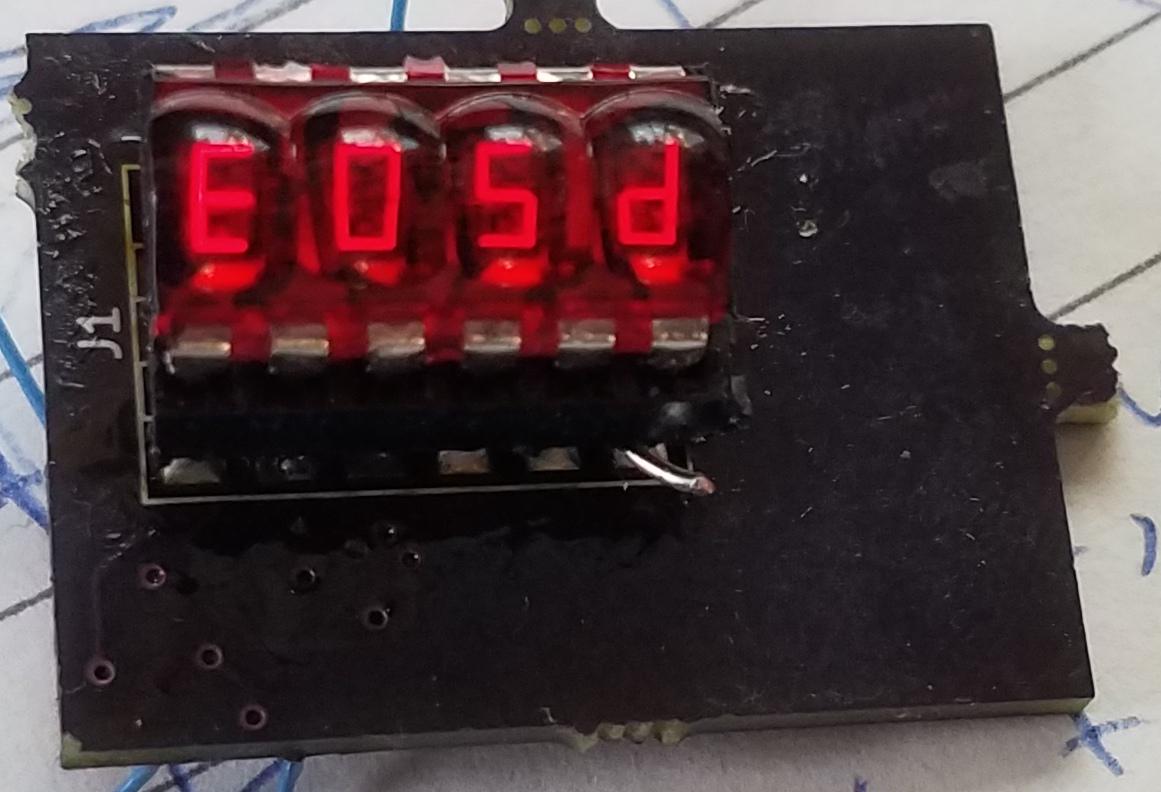
Now smaller, with a bootloader button and bypass cap!
https://oshpark.com/shared_projects/d74F2Kvs
Rev 0.2 will have a readable silkscreen for C2 and R7
1 Attachment
 allObjects
 rmd6502
 Gordon
I have a few HP QDSP-6064 bubble displays, and it looks like they'd fit perfectly over a bare MDBT42Q module. A 3-layer sandwich of coin cell, module, display would fit in a cocktail ring sized 3d printed enclosure.
As a stretch goal, I'll mount an AS5601 orthogonally and build a "digital crown" (copyright Apple of course)