-
• #2
Fri 2019.11.29
http://www.espruino.com/Bangle.js
Heading
LED
'There are no LEDs on Bangle.js - so there are no built-in LED variables.'Hi Tony @user106108
While we are all excited about the new Bangle.js product launch and the availability to test some sample code snippets now, we may be too excited on what functionality we may expect. The emulator is a brand new (past week) playground on which to test sample snippets. Most emulated functionality will be up to the community to provide as that would be up to the imagination of each individual.
For others that are reading along:
I presume these are the links that were started with:
http://www.espruino.com/Bangle.js
https://www.espruino.com/ide/emulator.htmlI followed the instructions as stated in #53 verbatim:
forum post http://forum.espruino.com/conversations/340531/?offset=50#comment15003640
To confirm, did that snippet sample run without error for you also?
Even though there aren't defined LED labels, simulated output might be done as follows:
Now on to your specific situation;'but when I try to run any code that references LED1, I get the error:
Uncaught ReferenceError: "LED1" is not defined''Is there anything I can do about that?'
Create a definition to replace the missing LED1? What exactly is trying to be accomplished? Trying to add LED simulation on the dial perhaps?
As the sample using buttons does execute, as we are able to observe from L1 that there is an array of defined button constants, BTN1 thru BTN5
(I'm purposely not reposting that line here so that viewers will take a look there ref #53)
So, what does the label definition for LED1 appear like in the code referenced in #1 above? Posting could help others assist here.
Gordon also mentions in #56 how to go about making individualized edits and improvements. Links there. Looking at the GitHub source (link in #56) also reveals that currently there aren't labels for the LEDs. That it where the individual edit functionality is added.
One really simple idea - add to end of sample snippet in #53
// var LED = [LED1]; // not used ref definition onlyvar state = true;var detectBtnPress = false;function stateLED( state ) {var illum = "";// ternary conditionalillum = state ? "on" : "off";console.log( "The LED is: " + illum );}// To test (place appropriately for user expectations - just before L9 in #53):// toggle after each button pressdetectBtnPress = detectBtnPress ? false : true;stateLED( detectBtnPress );// OutputThe LED is: onThe LED is: off
I'll edit and update with new detail as I learn it. -
• #3
Bangle.js has no
LED,LED1, but you can write your own Software LED to get the blinking LED examples going. How to do is outlined in the conversation about Bangle.js (and emulator), where did you leave my LED, LED1, LEDX?. -
• #4
(Intentionally emptied.)
-
• #5
Hi @user106108
the emulator start just with some sample lines of code, so don't get confused with that.
Just replace it with your own code and press "Send to Espruino" and have fun ;-)
-
• #6
Yeah, a good 95% of Espruino boards have an LED so the code is generally a good starting point - but Bangle.js doesn't have an LED so that code won't work (on the Emulator and also on Bangle.js itself).
At some point I'll change it so that it looks at which board you're using and changes the code accordingly
-
• #7
...LED with changing as mentioned in Post #3: Some Fun... bangle.js 'project' - click clip (link) at the bottom.
Since with the constructed Software LED - as outlined in the conversation about Bangle.js (and emulator), where did you leave my LED, LED1, LEDX? - you can set any color, you can make it even a neopixel like thing that changes color over time... see Reusing some RGB LED interior lighting modules.
I changed the code only slightly: instead of using pins and writing pwm (analog), I store the rgb values in pr, pg, pb variables. Then, in intervals, I set the color of the led and set the led itself... which updates the color of the led... ;-)
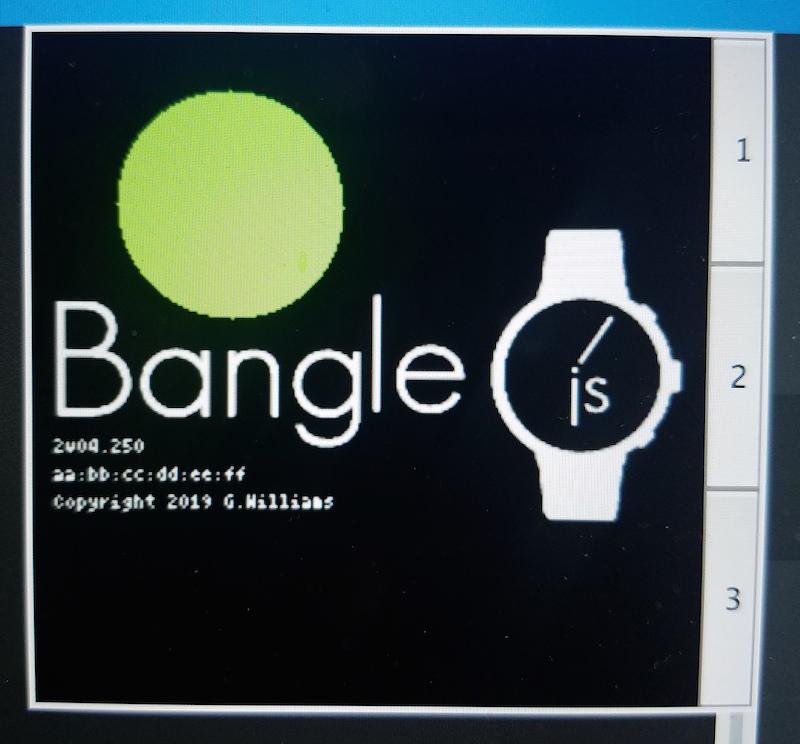
Caution: 20 times per second I change the color and fill a circle of 80 pixels in diameter. I do not know if bangle can keep up with the redraw... after all, it does all the graphics and talks byte by byte to the display... Therefore: all your banglejs-ers out there, give the code a shot and report back...
Interesting detail: seven (7) independent intervals are going on... try this with Arduino: would become quite a time_and_if_mess... Espruino's event drivenness is the right solution here. (I did though not adjust / update the pwm and delta pwm factors.... in other words: colors changes and speed of changes happen way more often that the LED is updated... To save some cpu cycles, the code could be inverted and new color(s) only calculated once per LED update - just before LED update...).
// someBangleTriColors.js// (c)20191129 allObjects// using bangle to do some light show with a software LED / 'Neopixel'// sine modulated sine modulated r g b value changes // before pwm...var itpf = 2; // interval time pwm factorvar itdf = 5; // interval time pwm delta factorvar pi2 = Math.PI*2, rdd = pi2 / 90;var pr = 0, pg = 0, pb = 0; // rgb // befgore pin for r, g and bvar pwmr = 0, pwmg = 0, pwmb = 0; // pwm value of r, g and bvar pwdr = rdd, pwdg = rdd, pwdb = rdd; // pwm delta (increment)var itpr = 7, itpg = 11, itpb = 17; // pwm interval time of r, g and bvar iipr , iipg , iipb ; // pwm interval id of r, g and bvar pddr = 0, pddg = 0, pddb = 0; // pwm delta deltavar itdr = 30, itdg = 37, itdb = 47; // pwm delta delta interval timevar iidr , iidg , iidb ; // pwm delta delta interval id of r, g, bvar led, ledIId, ledIT=50; // 20 times per sec 're'-light LED// --- LED as constructor to create any number, colored, sized LEDslet LED = function(x,y,s,c,f) { // constructorthis.isOn = false; // LED on / offthis.x = x || 0; // left of LED bounding boxthis.y = y || 0; // top of LED bounding boxthis.s = s || 10; // size (diameter) };this.c = c || [1,0,0]; // color as RGB array with values 0..1this.f = f || function(_) {g.fillCircle(_.x+_.s/2,_.y+_.s/2,_.s/2); }; }; // fill shapeLED.prototype.set = function(v) { // set methodv = ((this.isOn = (v === undefined || !!v))?g.setColor(this.c[0],this.c[1],this.c[2]):g.setColor(0,0,0));this.f(this); }; // execute the function that fills the (default) shapeLED.prototype.reset = function() { this.set(false); }; // reset methodLED.prototype.toggle = function() { this.set( ! this.isOn); };function adpr() {pwmr = ((pwmr += pwdr) < pi2) ? pwmr : 0;pr = (1 + Math.sin(pwmr)) / 2;}function adpg() {pwmg = ((pwmg += pwdg) < pi2) ? pwmg : 0;pg = (1 + Math.sin(pwmg)) / 2;}function adpb() {pwmb = ((pwmb += pwdb) < pi2) ? pwmb : 0;pb =(1 + Math.sin(pwmb)) / 2;}function addr() {pddr = ((pddr += rdd) < pi2) ? pddr : 0;pwdr = rdd * ((1 + Math.sin(pddr)) / 2);}function addg() {pddg = ((pddg += rdd) < pi2) ? pddg : 0;pwdg = rdd * ((1 + Math.sin(pddg)) / 2);}function addb() {pddb = ((pddb += rdd) < pi2) ? pddb : 0;pwdb = rdd * ((1 + Math.sin(pddb)) / 2);}function goPWMs() {iipr = setInterval(adpr,itpr * itpf);iipg = setInterval(adpg,itpg * itpf);iipb = setInterval(adpb,itpb * itpf);}function goDeltas() {iidr = setInterval(addr,itdr * itdf);iidg = setInterval(addg,itdg * itdf);iidb = setInterval(addb,itdb * itdf);}function goLED() {var led = new LED(30,20,80,[0,0,0]);ledIId = setInterval(function(){led.c=[pr,pg,pb];led.set();},ledIT);}function onInit() {goPWMs();goDeltas();goLED();}setTimeout(onInit,999); // while dev'g; remove before upload for save()
2 Attachments
-
• #8
Thanks, the code from #53 does indeed run. I guess my mistake was to try and follow the tutorial in the IDE - I didn't realise that it didn't apply to the watch. Thanks for your help.
-
• #9
Cool, thanks for that.
-
• #10
Sun 2019.12.01
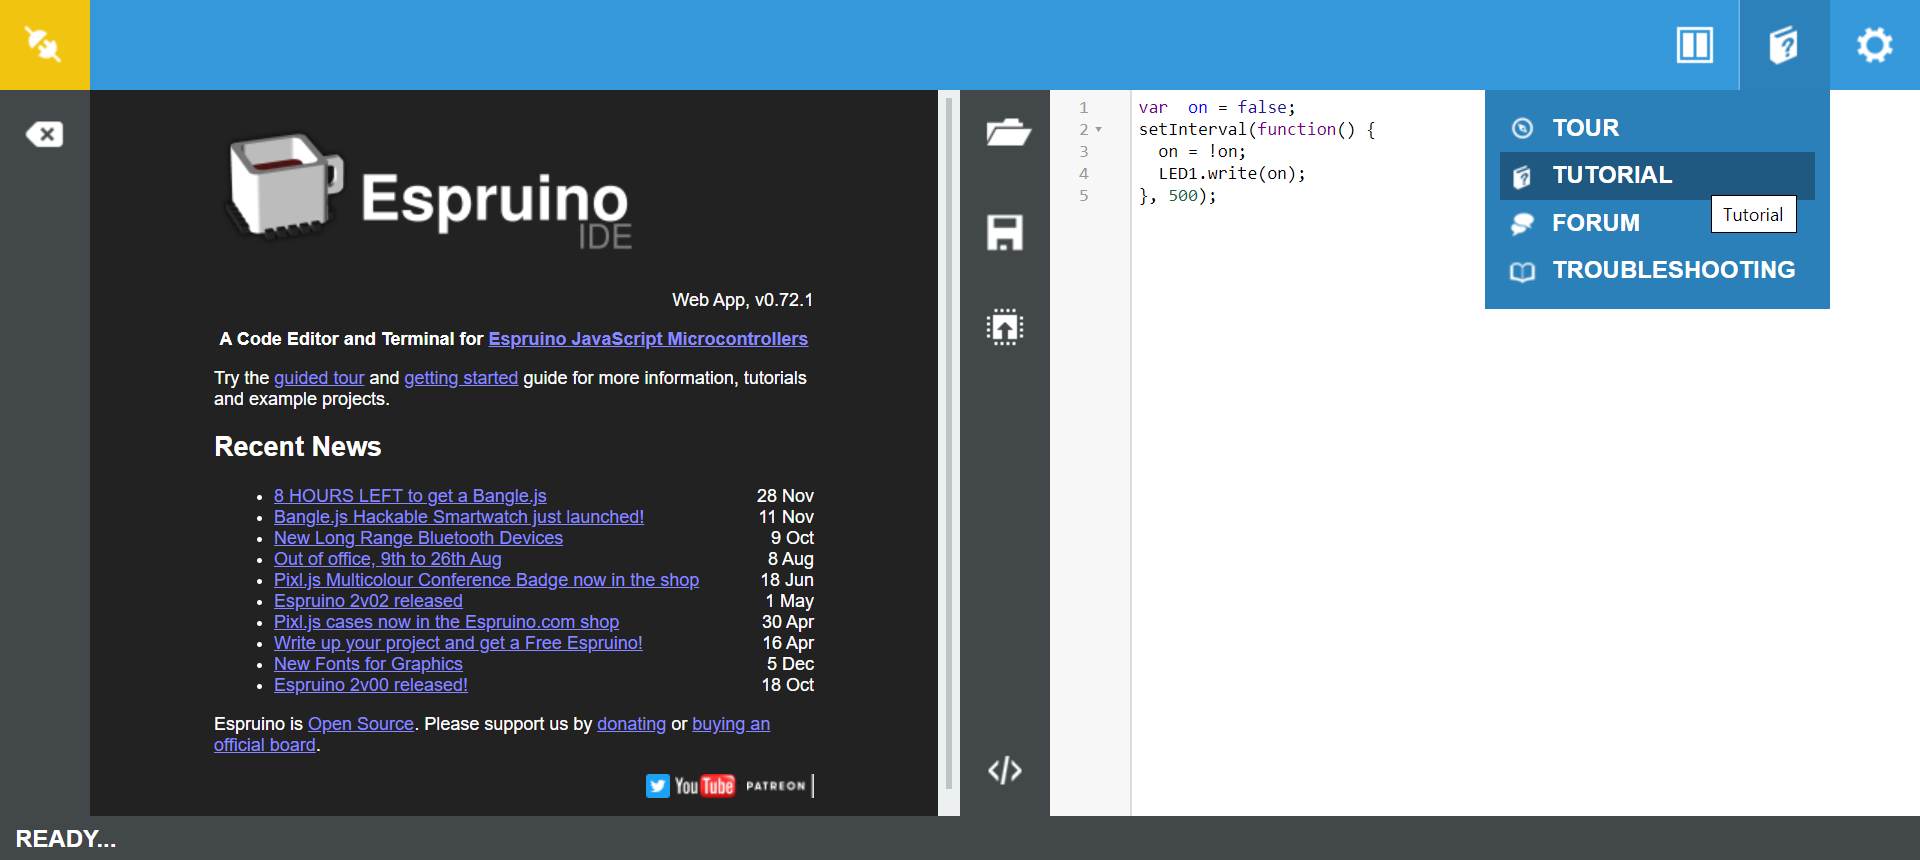
'to try and follow the tutorial in the IDE'
'tutorial in the IDE'?
@user106108 would you mind posting the link to the tutorial you have discovered so that we may determine how to steer others away from the same frustration. Thanks.
-
• #11
Please see in the attached screenshot, towards the top-right. Cheers, Tony.
1 Attachment
-
• #12
Thank you Tony.
Now that I re-read your post #1, the reference to BTN along with LED1 now makes all the sense in the world! (wondered what code snippet was being used)
Have been so immersed in the website tutorials, totally zoned (two years since I touched it) on the fact there remains the tutorial there.
-
• #13
Thanks - I think the IDE even points you to it when it first starts.
I guess I should add the 'fake' LED - it would make this sort of thing a lot easier.
-
• #14
Fake LED, fake news, fake... only Bangle.JS is not fake - that I know for sure!
-
• #15
Fake LEDs just added - will go live in the emulator in the next few hours
 Robin
Robin allObjects
 MaBe
MaBe Gordon
 user106108
Hi. Looking forward to my Bangle.js next year. I was trying out the emulator, but when I try to run any code that references LED1, I get the error:
Uncaught ReferenceError: "LED1" is not defined
Is there anything I can do about that? There also was something similar when BTN was referenced in any code.
Thanks very much in advance for any help, Yours, Tony.